A CRM can be a useful work tool or an expensive data store nobody updates. The difference comes from the build plan. To create a CRM that people use, start with workflows and data, then add logic, screens, permissions, and tests in that order.
This guide shows how to create a CRM on an existing database, API, or spreadsheet. If you are still deciding whether to build at all, we covered when building beats buying separately. It also explains where Jet Admin fits when you need generated backend logic, audit trails, SSO, and private or air-gapped deployment.
Step 1: Define the CRM Workflows and Users
Before you create a CRM, write down who will use it and what work they need to finish inside it. A written set of CRM priorities keeps vendor demos and feature claims from setting your priorities.
Start with the current process. Ask sales where leads get lost. Ask marketing how campaign activity reaches sales. Ask support or operations what customer details they must find during a handoff. Write each problem as a requirement.
For example, "sales reps enter the same customer data in three systems" becomes "the CRM must sync customer records with the existing sales and billing systems." "Managers cannot trust the pipeline" becomes "managers must see deals by owner, stage, territory, and expected close date."
Talk to both leaders and daily users. Leaders can set the business goal, but frontline staff know where the process breaks. Include sales, marketing, service, operations, IT, and the person who will own the CRM after launch.
Next, map the main workflows. Keep each map plain:
- A lead arrives through a form or API.
- The system checks for an existing contact.
- A new lead receives an owner.
- The owner follows up and records the result.
- A qualified lead becomes an opportunity.
- The opportunity moves through defined stages.
- A closed deal starts the handoff to delivery or support.
Do not automate every step yet. First agree on what should happen. A team that cannot explain its sales process in clear sentences will struggle to encode it in rules.
Rank each requirement as a must-have, high priority, or nice-to-have. Put data access, identity, and core workflow rules near the top. A flashy dashboard should not outrank a reliable customer record or a required approval.
Then define success in terms of work. A useful goal might be "a manager can review every open opportunity without asking reps for a separate spreadsheet." Another might be "a service agent can see the latest deal note before contacting a customer."
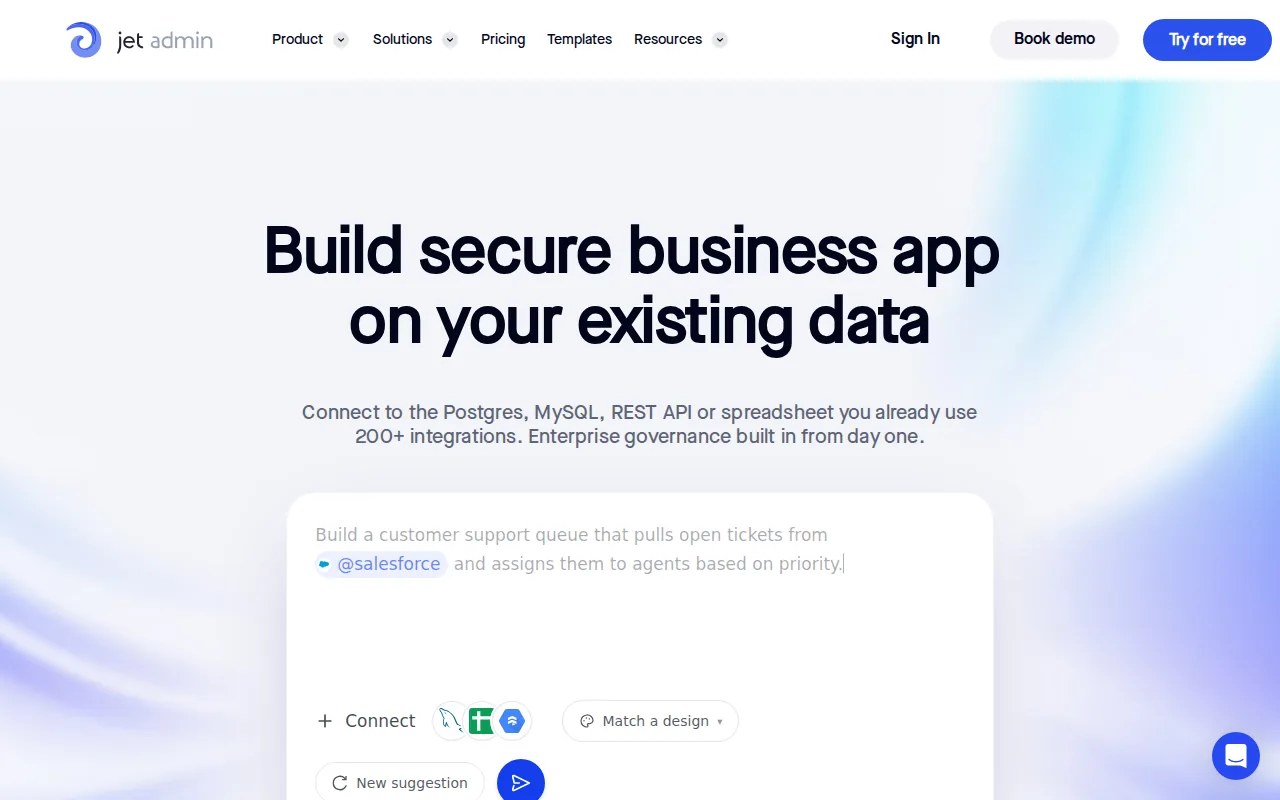
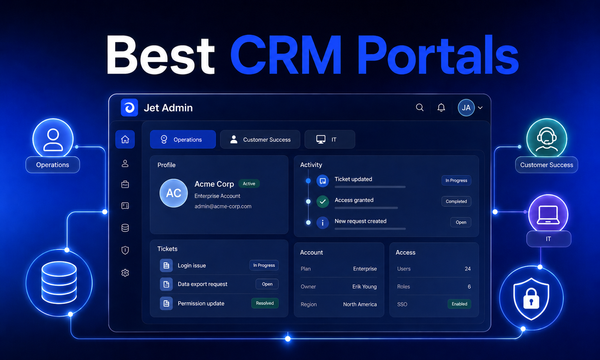
For a faster starting point, you can build a custom CRM with Jet Admin on connected data instead of starting with a blank application. Jet can generate the app structure while you refine the screens and workflow around your process.
By now you should have a user list, a workflow map, ranked requirements, and a short set of success checks. Those decisions become the test for every later step.
Step 2: Design the CRM Data Model
The data model is the frame of your CRM. It says what a customer record is, which records connect to it, and which fields the business can trust.
Begin with core objects. Most teams need some version of:
- Contacts, for individual people.
- Companies or accounts, for organizations.
- Leads, for people or firms that have not qualified yet.
- Deals, for sales opportunities.
- Activities, such as calls, meetings, tasks, and notes.
- Products or services, when deal value needs detail.
Each object contains records. Each record has properties. Associations connect records. For example, a contact can belong to a company, while several deals can connect to that same company.
Give every record a stable unique ID. Do not rely on a person's name as the key. Two contacts can share a name, and a company may change its trading name. Use a system ID, then define other unique fields where they fit, such as an email address or account number.
Choose field types with care. A stage should use a controlled list, not free text. A close date should be a date field. An amount should have a clear currency rule. A source field should use agreed values such as referral, website, partner, or outbound.
Separate required fields from useful fields. If reps must fill out twenty fields before saving a lead, they may enter guesses or avoid the CRM. Require only data that drives routing, reporting, compliance review, or the next workflow.
Plan for history. A current deal stage tells you where the deal is now. An activity record or stage-change log tells you how it got there. Without that history, managers cannot tell if a deal is moving or merely being edited.
Define relationships in plain language before you build them. Decide if one contact can belong to several companies. Decide if a deal can have more than one contact. Decide who owns the record when several teams work on it.
Also plan data quality rules. Block invalid email formats. Warn about duplicate companies. Keep picklist values short. Decide which team can merge records. Create a rule for inactive accounts so old data does not look like active pipeline.

Use a small sample to test the model before importing everything. Add one company, two contacts, one deal, and a few activities. Try the actions users will take. If the sample feels awkward, a larger import will only make the problem harder to fix.
By now you should have object definitions, field rules, record relationships, unique IDs, and a sample data set. Next, connect the sources that hold those records today.
Step 3: Connect Your Existing Data Sources
Most teams creating a CRM already have customer data somewhere. It may sit in a SQL database, a spreadsheet, an API, a billing system, or several places at once.
Make an inventory before you connect anything. For each source, record the owner, table or endpoint, fields, update method, and business purpose. Mark the source of truth for each field. For example, the billing system may own invoice status while the CRM owns sales stage.
Do not copy every source into a new database by default. A connected CRM can often work on the data you already trust. That reduces duplicate records and avoids a long migration before users can test the interface.
For a spreadsheet, set a stable header row and one record per row. Remove merged cells. Keep dates in one format. Add an ID column if one does not exist. Treat the sheet as a data source, not as a visual report.
For a database, identify the tables that hold customer, account, deal, and activity data. Confirm the joins before building screens. A CRM view can look correct while quietly dropping records if the join logic is wrong.
For an API, document authentication, rate limits, pagination, error responses, and write permissions. A read-only connection may be enough for a first release. If users can update records, decide how the CRM handles a failed request or a conflict.
Map old fields to the new model. Use a written mapping such as:
- old_customer_id becomes company.external_id
- account_manager becomes company.owner_id
- sales_status becomes deal.stage
- last_contacted becomes activity.completed_at
Check for duplicates before sync. Compare stable IDs first. Use email or domain as a secondary check only when the business rules support it. Never merge records solely because two names look alike.
Choose a sync pattern. A live connection makes current data available, but it depends on the source staying available. A scheduled import creates a delay, but it can be easier to monitor. A one-time migration may work for a small, stable data set.
Set ownership and failure alerts. Someone should know when an API token expires, a scheduled job stops, or a sheet changes its column names. Store sync errors where an operator can review them. Do not hide failed writes behind a blank screen.
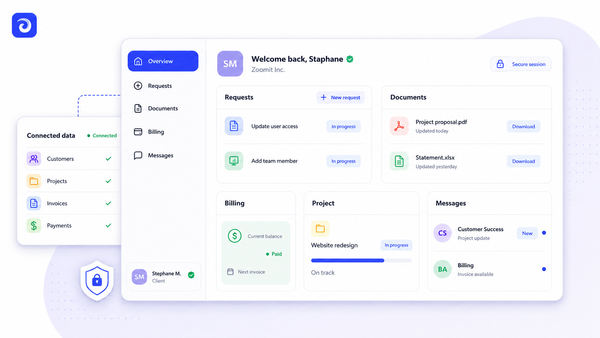
Jet Admin is useful when the CRM needs to sit on existing databases, APIs, or spreadsheets rather than replace them. Its automatically generated backend logic handles much of the work behind the screens, while the team can shape the app around the connected data.
Run a small import first. Compare counts and sample records by hand. Check links between companies, contacts, and deals. Only then schedule a wider migration or turn on write access.
By now you should know where each CRM field comes from, which system owns it, and how sync failures will be handled.
Step 4: Build Backend Logic and Automations
A CRM becomes useful when data changes cause the next action. Backend logic controls those changes. Automation removes repeat work that people often forget.
Start with simple rules. Write each rule as a trigger, condition, and action:
- When a new lead arrives, check for a matching contact.
- If no match exists, assign the lead to the right owner.
- When a deal enters a proposal stage, create a follow-up task.
- If a deal has no activity for a set period, alert the owner.
- When a deal closes, send the handoff data to delivery.
Keep the first release small. Automate a workflow only when the team agrees on the desired result. A bad rule can spread bad data faster than a person can correct it.
Define what happens when conditions fail. If an owner is missing, send the record to an operations queue. If an API call fails, record the error and allow a retry. If a duplicate is found, pause the workflow instead of creating another account.
Use permissions inside the logic. A sales rep may edit a deal stage but not change its owner. A finance user may update payment status but not alter sales notes. These rules should apply to API calls as well as visible buttons.
Keep business logic close to the system of record when possible. An external automation layer can create delays or duplicate updates. If a workflow writes to the CRM, log the event and keep an audit trail of the change.
Test each automation with a normal case, a missing value, a duplicate, and a failed connection. For example, test a new lead with a valid email. Then test one without an owner, one that matches an existing contact, and one that arrives while the source API is unavailable.
Jet Admin's automatically generated backend logic can help teams avoid assembling every server action by hand. You still need to define the business rule, but the platform can handle much of the backend work behind the app.
A useful first milestone is a complete lead-to-deal path. A lead enters the CRM, receives an owner, moves through a stage, creates a follow-up task, and leaves a record of each change.
When that path works, add exceptions. Do not begin with a maze of conditions that only one administrator understands.
Step 5: Create the CRM Interface and Access Controls
The interface should help each user finish a task with the least search and data entry. A CRM can have a sound database and still fail if the screens feel slow or confusing.
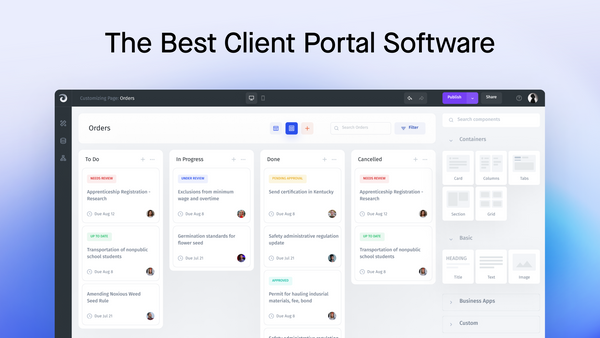
Design around jobs, not tables. A sales rep may need a lead queue, a company view, an opportunity board, and a next-action panel. A manager may need a pipeline view with filters. Operations may need an import review page and an error queue.
Keep the first screen focused. Show the fields a user needs for the current task. Put rarely used details behind a separate panel. Use clear labels such as "Next follow-up date" instead of vague labels such as "Status."
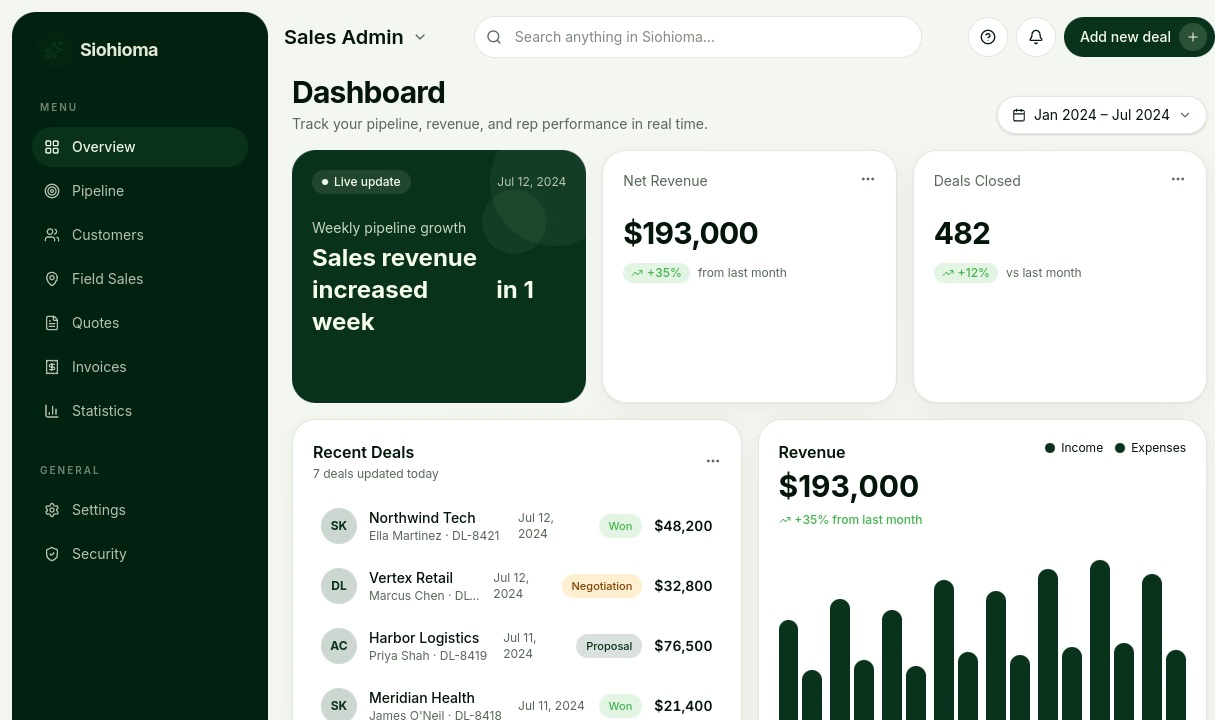
Build views for the workflows from Step 1. A lead queue should show owner, source, age, and next action. A deal page should show stage, amount, close date, related contacts, and recent activity. A manager view should make stale records easy to find.
Use forms to guide entry. Set defaults where they are safe. Display fields only when they apply. For example, show a loss reason when a deal moves to closed-lost. Do not make users fill out that field for every open deal.
Now define access by role. Start with the least access each role needs. Common roles might include:
- Sales user, who works on assigned leads and deals.
- Manager, who views team records and reports.
- Operations user, who manages imports and workflow queues.
- Administrator, who changes the app and permission rules.
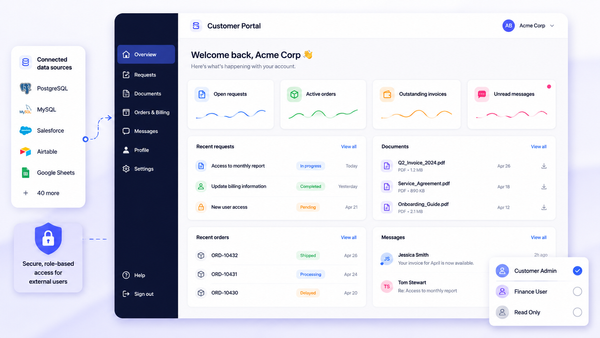
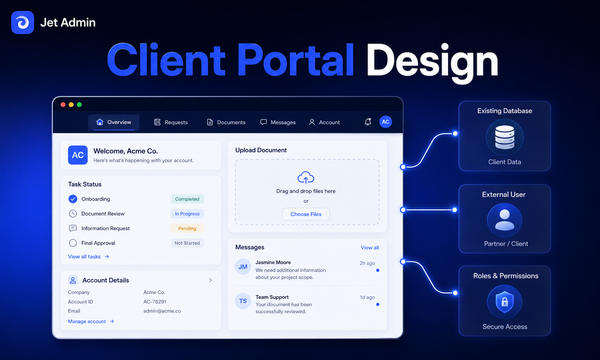
- External user, who sees only records meant for a customer or partner.
Check access at the record and field level. Hiding a button is not enough if the user can still reach the data through an API or export. Test create, read, update, and delete actions for every role.
Use SSO when your identity setup supports it. Add audit trails for changes to customer data, permissions, workflow rules, and exports. An audit record should show who acted, what changed, and when it happened.
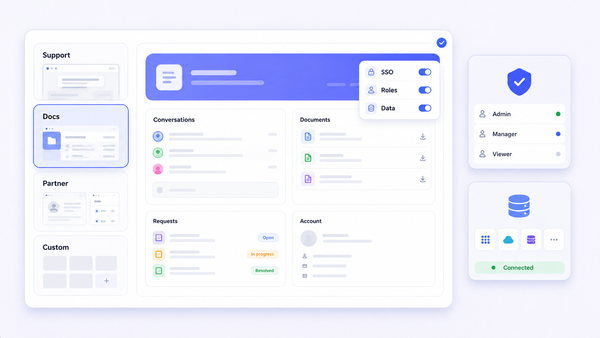
For enterprise teams, deployment choice belongs in the design discussion. Jet Admin supports cloud, private infrastructure, local deployment, and fully air-gapped deployment. It also combines granular permissions, audit trails, and SSO. These controls can support a security review, but they do not by themselves guarantee regulatory compliance.

Before launch, ask a real user to complete a common task without coaching. Watch where they pause. If they open several pages to answer one customer question, reduce the steps or add a better summary view.
By now you should have task-based screens, role rules, identity controls, and a clear record of sensitive changes. The final build step is proving that all of it works under normal and bad conditions.
Step 6: Test, Deploy, and Improve the CRM
Testing is part of how to create a CRM, not a final formality. A CRM can pass a demo and still fail when a real user has the wrong role, a source sends a duplicate, or an automation cannot reach an API.
Test in layers. Start with each field, form, query, and workflow. Then test full user journeys. A sales journey might begin with a new lead and end with a closed deal and a handoff record.
Cover at least these cases:
- Valid data saves and appears in the right views.
- Required fields block incomplete records.
- Duplicate records trigger the agreed review path.
- Failed integrations create a visible error.
- Automations run once rather than creating repeats.
- Reports use the same stage and ownership rules as the app.
- Users cannot view or edit records outside their role.
Test permissions with separate accounts. An administrator seeing a screen proves very little. A sales user should see only the records and actions assigned to that role. Check exports, direct links, reports, and API access too.
Run regression tests after each meaningful change. A new field can break an import. A permission update can hide a dashboard. A workflow edit can create duplicate tasks. Keep a short test script so the team can repeat checks after deployment.
Validate the data itself. Compare record counts between the source and CRM. Sample linked records. Check dates, currencies, owner IDs, stage values, and historical activities. Look for empty fields that should have mapped during migration.
Check performance with the expected workload. Load a large view. Search for a common company. Open a record with many activities. Run a manager report. Slow screens will push users back to spreadsheets, even when every feature works.
Choose a deployment path that matches your team. Cloud deployment can reduce infrastructure work. Private or self-hosted deployment can give your team more control over location and network access, but it also creates work for patching, backups, monitoring, and recovery.
A self-hosted setup should have an owner for infrastructure and a written recovery plan. Decide where backups live, how often they run, how you restore them, and who can approve a production change. A private environment without an operating plan is not a complete security plan.
Deploy to a small pilot group first. Give them real tasks rather than a tour. Track failed saves, missing fields, duplicate records, slow views, and workarounds. Fix the issues that block daily work before adding new features.
The plain meaning of customer relationship management is managing a company's interactions and relationships with customers. Your application should make that work easier to carry out, review, and improve.
After launch, review usage and data quality on a set schedule. Remove fields nobody needs. Update workflow rules when the business process changes. Keep a change log so users know what moved and why.
By now you should have a tested release, a rollback plan, a support owner, and a short list of improvements based on real use rather than demo feedback.
FAQ: Creating a CRM
How long does it take to create a CRM?
A small CRM can reach a pilot stage in days or weeks, while a governed enterprise CRM can take much longer. The timeline depends on data cleanup, integrations, permission rules, workflow depth, and testing. A focused first release is usually safer than trying to reproduce every existing process at once.
Can I create a CRM from a spreadsheet?
Yes, you can create a CRM from a spreadsheet if the sheet has clean rows, stable IDs, and consistent field values. Remove merged cells and duplicate records first. Then connect the sheet to a CRM interface or migrate it into a database when several users need stronger history, permissions, and write controls.
Should I build a CRM from scratch or use an app builder?
Use an app builder when your team needs a working CRM on existing data without assembling every backend service by hand. Build from scratch when you need full control over the code and have the team to maintain it. Compare the cost of development, security review, hosting, upgrades, and support before deciding.
What data should a CRM store?
A CRM should store the customer and deal data needed for the workflows you defined. That often includes companies, contacts, leads, opportunities, activities, ownership, and stage history. Add a field only when it supports a task, report, rule, or required review. Extra fields create more work and weaker data quality.
How do I secure a custom CRM?
Secure a custom CRM with role-based access, least-privilege permissions, SSO where available, audit trails, protected integrations, and tested backups. Check access at the record and field level. Test each role with a separate account. If the CRM handles sensitive data, include your security and compliance teams before deployment.
Can Jet Admin create a CRM on my existing data?
Yes, Jet Admin is built for business apps on existing databases, APIs, and spreadsheets. It can generate backend logic while you shape CRM screens and workflows. Jet also supports granular permissions, audit trails, SSO, and cloud through fully air-gapped deployment options, so your deployment plan can match your IT requirements.
Conclusion
Build the first CRM around one complete workflow, not a long feature list. Define the data model, connect the source of truth, add backend rules, protect access, and test with real users. If you want a faster starting point, use the Sales CRM template as a working base, then adapt it to your process and deployment needs.